Installing a WordPress and theme
In this article, I will show you how to install the Colormag theme. To begin with, you must have a home and hosting to which you will install the theme. On the hosting, you must have WordPress installed with the theme that comes by default.
I will show an example of installation on itanets hosting.
But first, a short story about where to get the Colormag theme, how to buy it.
How and where to buy a Colormag theme
There are free versions on the Internet, but all of them have been edited and contain either extra lines of code, or some lines of code have been removed, or the files contain viruses. In the future, this may lead to the inoperability of your site. To avoid this, we buy a site from an official seller.
The seller provides a free version. Which one to use is your choice. The free version has number 3 and limited functionality. On this site I tell you how to set up the pro version, number 4.0.2
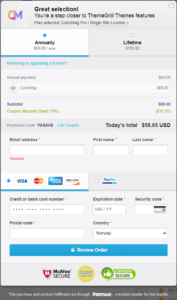
You need to register on the seller’s website, select a theme and pay.
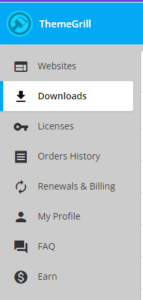
After payment, you will see such a window where you can download the purchased theme, as well as the license key for it.
You need to download the purchased theme, it will be downloaded to your computer in zip format. It is this file that will need to be installed on the hosting.
Installing the theme on the hosting
Here will be a detailed description of installing the ColorMag theme on a clean hosting. Hostings vary in design, I will be doing this on Itanets Hosting.
In hosting, you need to log into the Plesk control panel.
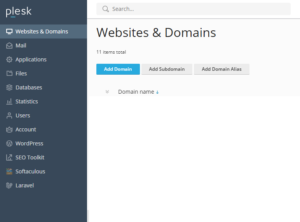
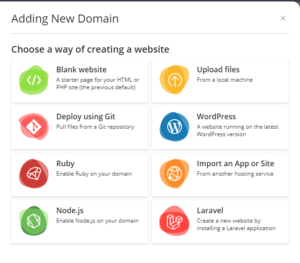
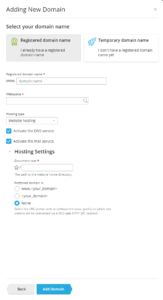
You will immediately find yourself on the Websites and Domains tab. Click add domain. A window will appear on the left, select WordPress in it.
Take “Registered domain name. I already have a registered domain name” and write your domain name. After ckick Add Domain.
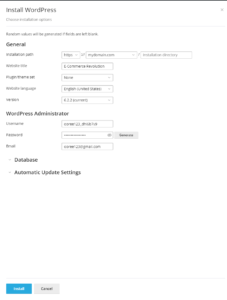
For some time, an information panel with a list of ongoing operations will be displayed, after which a new window will open in which you will be prompted to enter certain data. You will need to write down separate WordPress Administrator data: username and password. You will need them later, after the final installation, so that you can log into the site as an administrator. (To view the password, click on the eye icon.) Take Install.
Installing WordPress takes some time, usually less than a minute. In the lower right corner of the screen, there will be an information message with an installation indicator.
After installation, you will be prompted to install the standard WordPress plugin package. I think it’s overkill, but the choice is yours. This completes the installation of WordPress.
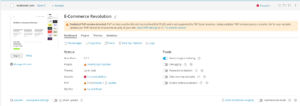
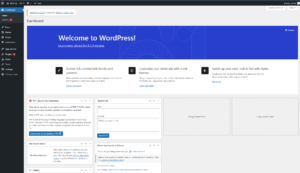
The dashboard with your domain and website will look something like this:
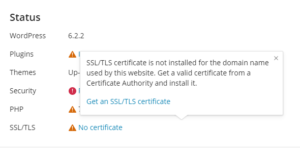
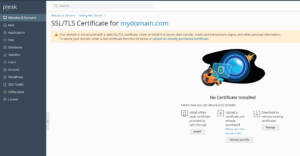
Now let’s install the ssl certificate right away. This is necessary for the connection to the site to be secure. If you do not install a certificate, the browser will display a message that the connection is not secure, in other words, cause nuisance when browsing. Installation of the certificate is free. It re-releases automatically after some time.
So, we press no certificate and in the information message we want to get an ssl certificate.
You will be taken to the certificate installation page. Таке Install
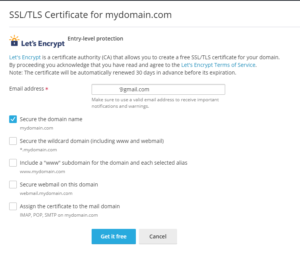
On the installation page, you need to check the correctness of the specified email address and select the first item. This will be enough. click Get free:
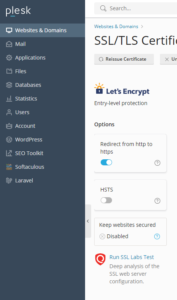
Upon completion of the installation, you will receive an informational message. On the new page with information about the installed certificate, enable redirection from http to https.
Now open your site in a browser and look for a lock icon in the address bar on the left. This means that your site works with an ssl certificate.
Installing the ColorMag Theme on WordPress
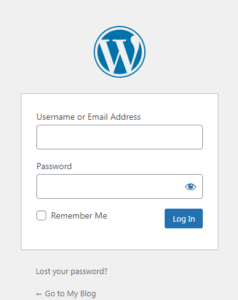
Now we have installed WordPress on the hosting, now we need to install the ColorMag theme on the already installed WordPress. To do this, we need to log into the site as an administrator. Open your site in a browser and add /wp-login.php to the domain name and follow this link.
yourdomain.com/wp-login.php
You will be on the login page, you will need to enter the username and password that we saved earlier.
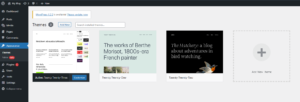
After a successful login, you will be in the WordPress admin panel. On the left, you need to hover your mouse over Appearance and select Themes.
By default, one theme is already installed on the site. It’s okay, that’s how it should be. Click the Add New button.
You will be presented with a list of themes available in WordPress. We don’t need it. At the top left, select Upload Theme.
A window will open asking you to download the theme in zip format. You need to select the file on your computer and select the zip archive with the theme that you downloaded when you purchased. After that click Install now.
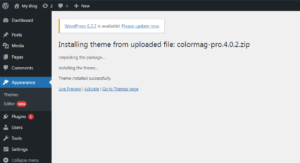
Installing the theme will take some time.
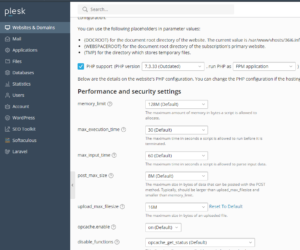
If at this stage nothing worked out for you and you received the message: The uploaded file exceeds the upload_max_filesize directive in php.ini then this happened due to the limitation of the file size possible for uploading to the site. To fix this, go to the list of domains, select your domain, PHP version, and change the maximum file upload value to something else, for example 16M, and then click Apply.
After installing the theme, do not forget to return the value to 2M, this is necessary for security. But if you continue to upload to the site, for example, images larger than 2x M, the system will display a download error due to the restriction. Therefore, it is better to immediately choose a value a little more, for example 4M.
Now go back to WordPress and re-upload the archive. Now you will see that everything is in order and you can Activate the theme.
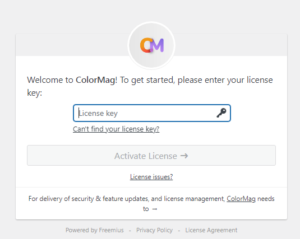
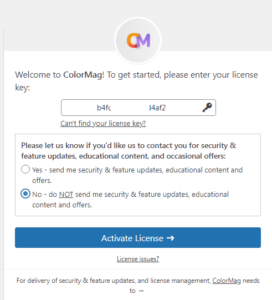
Now you need to enter the license key. This is a set of numbers and letters that you saved earlier when you bought the theme.
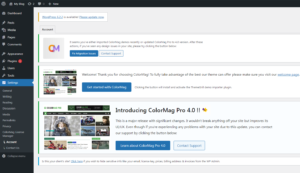
You will be presented with various features, but I recommend giving up and just activating the theme.
The ColorMag theme is now installed on your site.
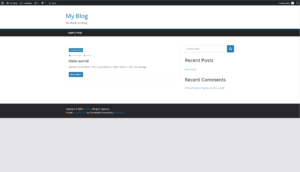
Now your site looks like this. You don’t have to do anything with the hosting. In later articles on this site, you will find instructions on customizing the theme.

